How to Replace a Kitchen Sink (Step-By-Step Guide)
A new kitchen sink is a brilliant way to update the look of an outdated kitchen. Sinks can come in all shapes and sizes, which can make implementation tricky at times, but having the correct tools and some know-how can go a long way. So don’t fret, in this guide we’ll show you, step-by-step, how to replace a kitchen sink.
Included in this guide:
- Disconnecting Your Old Sink
- Replacing a Top-Mounted Sink
- Replacing a Undermount Sink
- Reconnecting the Supply Lines
Firstly, here’s a list of tools you will need to make replacing your kitchen sink as simple as possible:
- New Sink
- Pliers
- Wrench
- A Bucket and Towel (for any leaks)
- Eye Protection
- Screwdriver
- Knife
- Silicone Sealant
- Plumber’s Putty
- A helper!
Once you’ve got everything you need, you can get started.
Disconnecting Your Old Sink
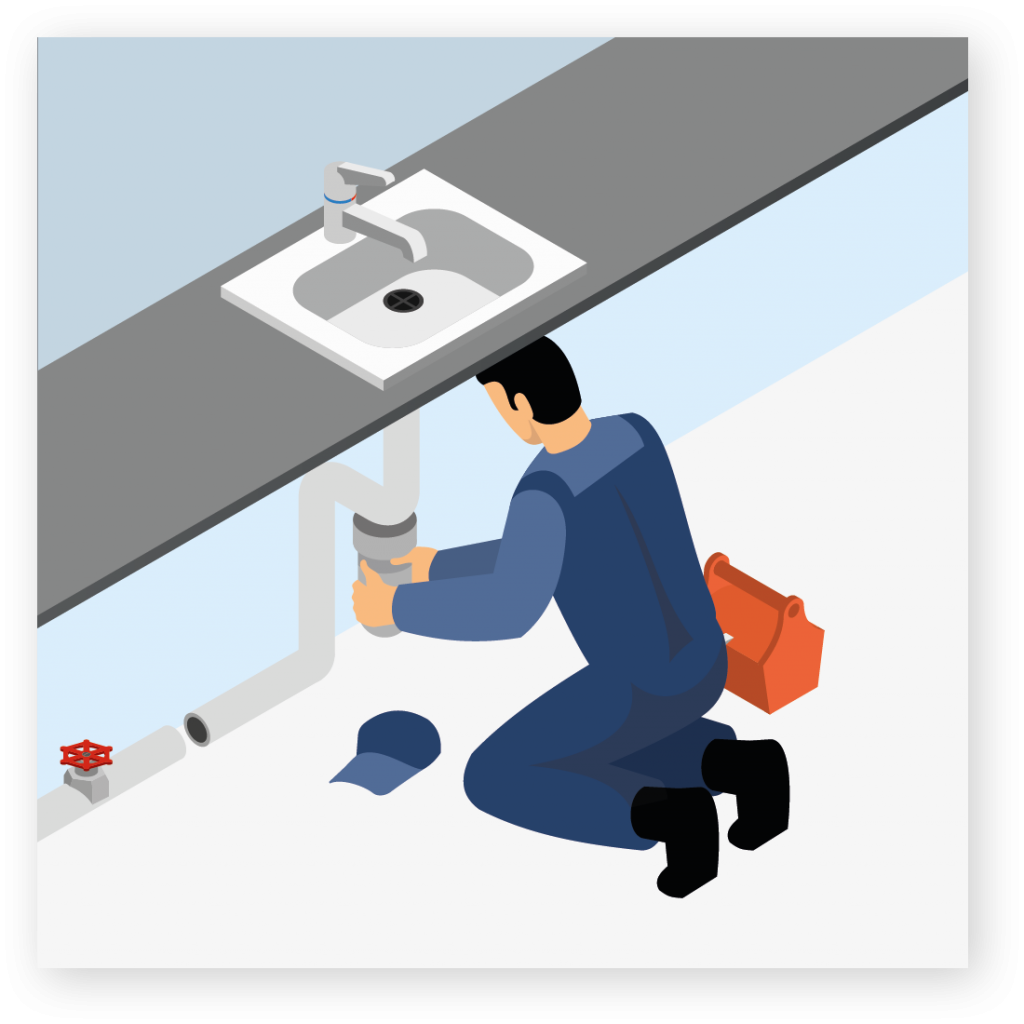
1. Turn Off the Water Supply
This is normally located in your kitchen under the sink, or in a utility room if you have one in your home. Turn off the valve by turning it clockwise.
2. Turn On the Tap to Relieve Water Pressure
Once the water supply has been turned off, drain the remaining water from the line. It should only take a few seconds for all the water to flow out of the pipes safely.
3. Disconnect the Supply Lines
Use an adjustable wrench to disconnect the supply lines, turn the flexible connectors anti-clockwise. If your old sink doesn’t have flexible connectors, you may have to undo a compression fitting nut.
4. Remove Drainpipe and P-Trap
Use pliers to twist the metal fittings on the pipes anti-clockwise to to loosen them. If your pipes are plastic, try to use your hands to loosen them to avoid unnecessary damage. If you’re also replacing your old tap, locate the clamp at the bottom of the tap and undo it. You may also need to loosen one or two nuts. If you plan on using your old tap this would be the ideal time to give it a clean.
Replacing a Top-Mounted Sink
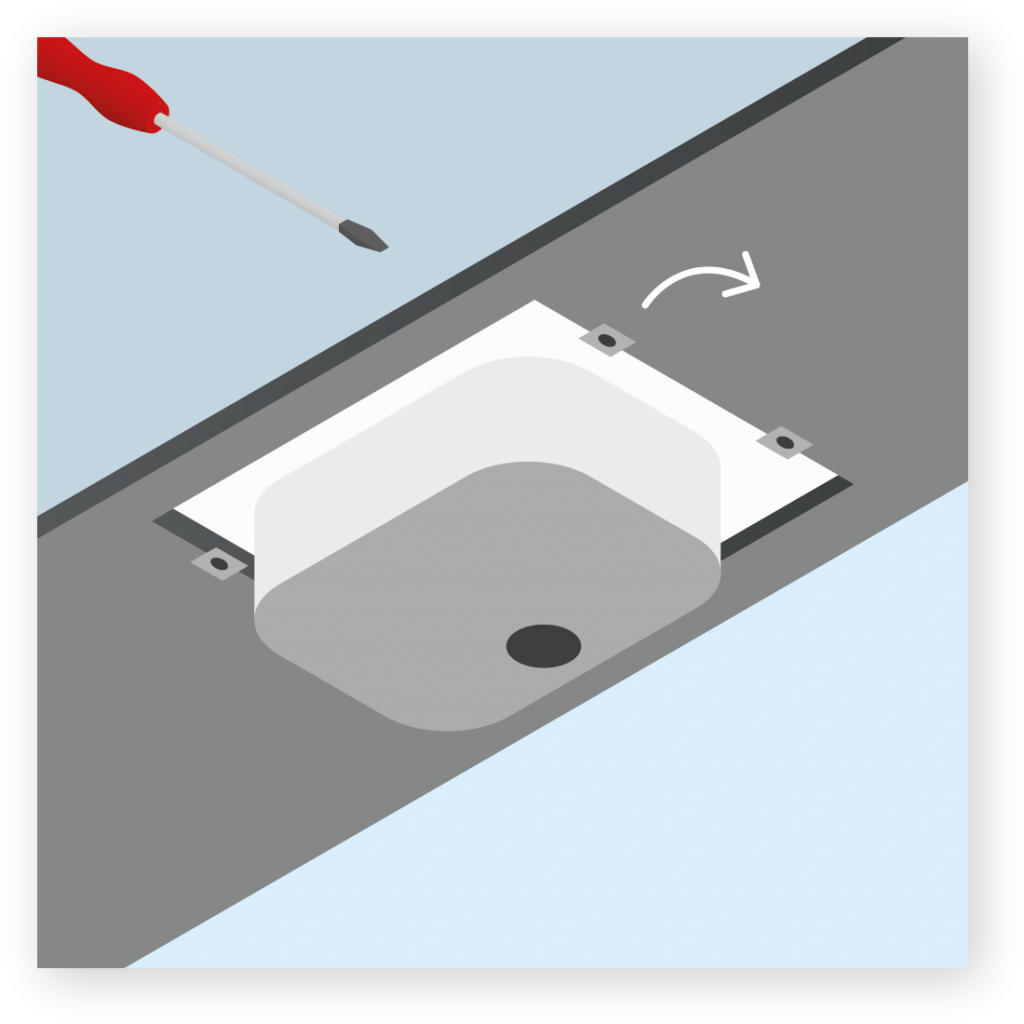
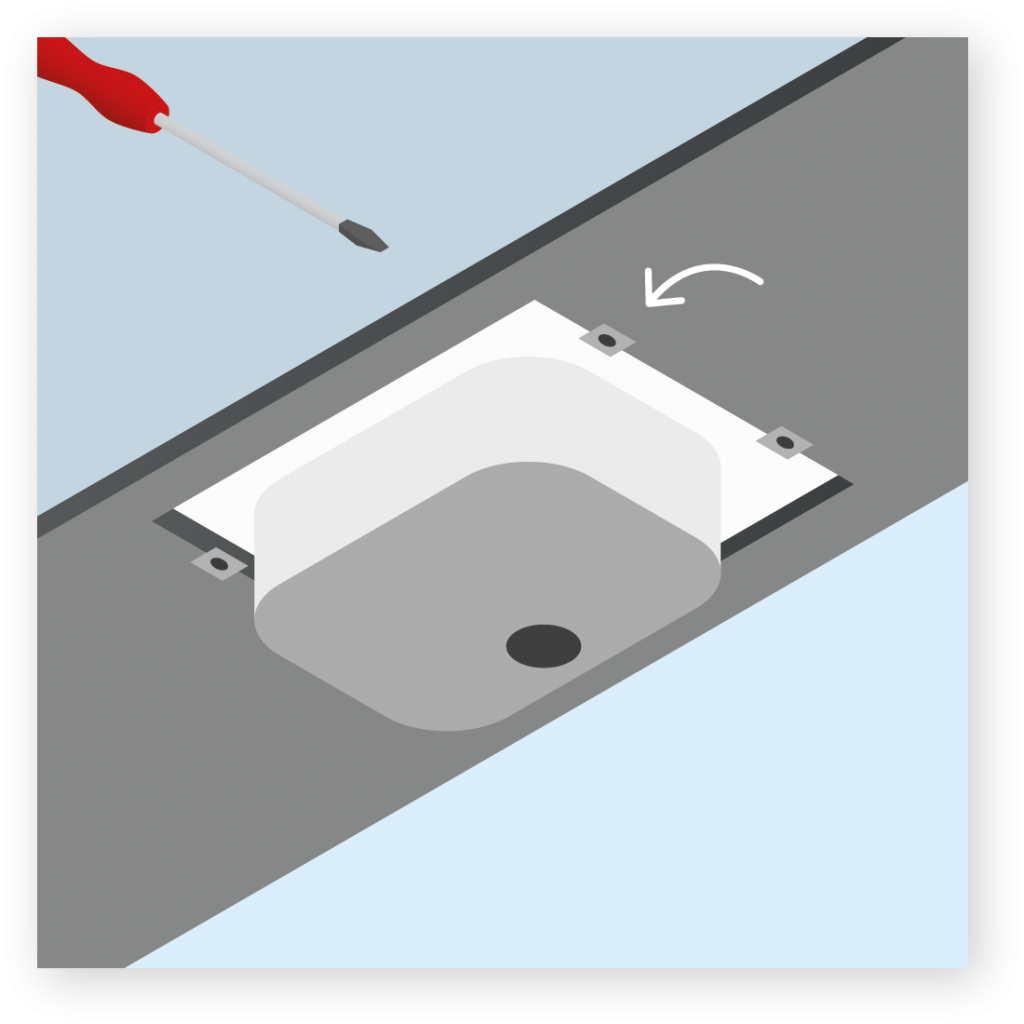
1. Undo the Metal Clamps Under the Sink
There are usually about 10 clamps on the underside of your old sink. Use a screwdriver to loosen them. You don’t have to remove them completely, instead you can loosen them enough to flip the clamps towards the centre of the sink.
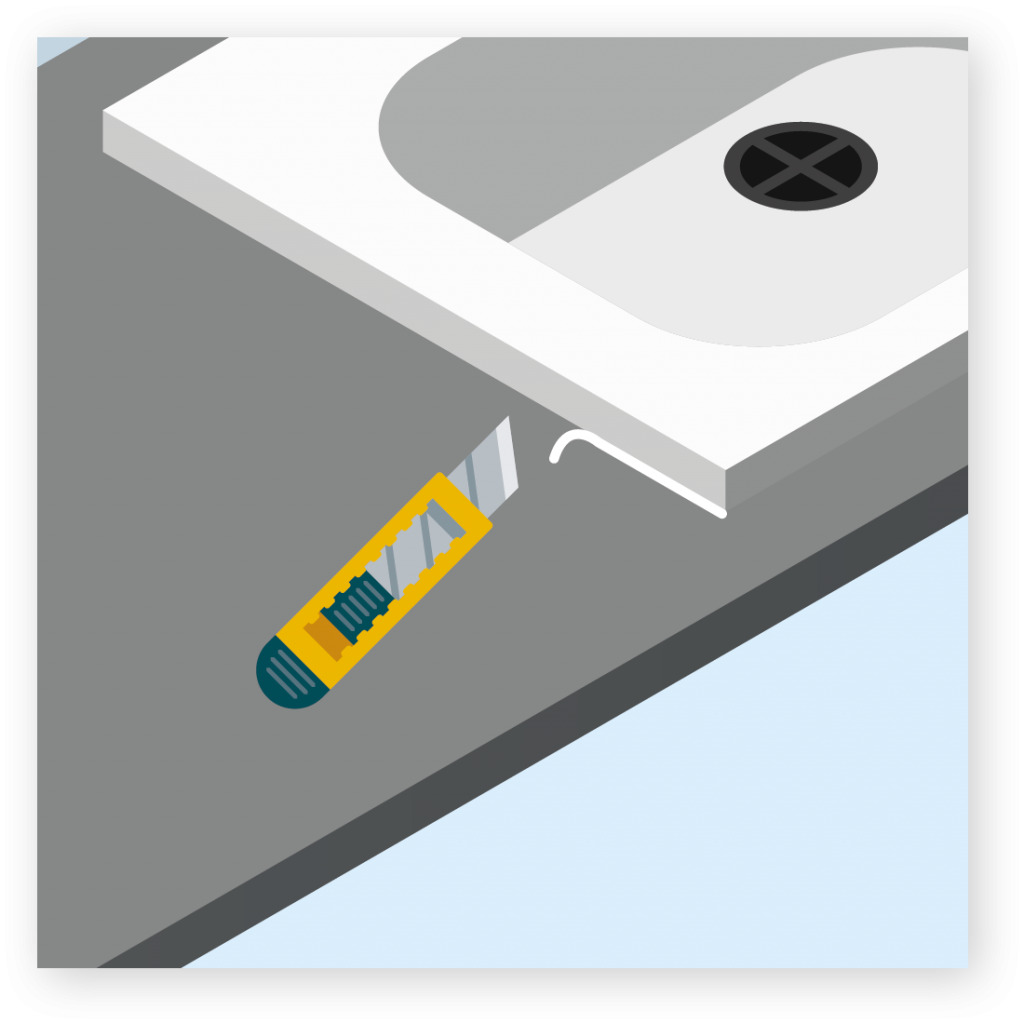
2. Remove the Silicone with a Knife
There is likely to be silicone between the countertop and the rim of the sink. The best way to remove this is to use a knife to cut into the silicone whilst adding upwards pressure to the sink. Try your best not to pry against the countertop as it can be easily damaged.
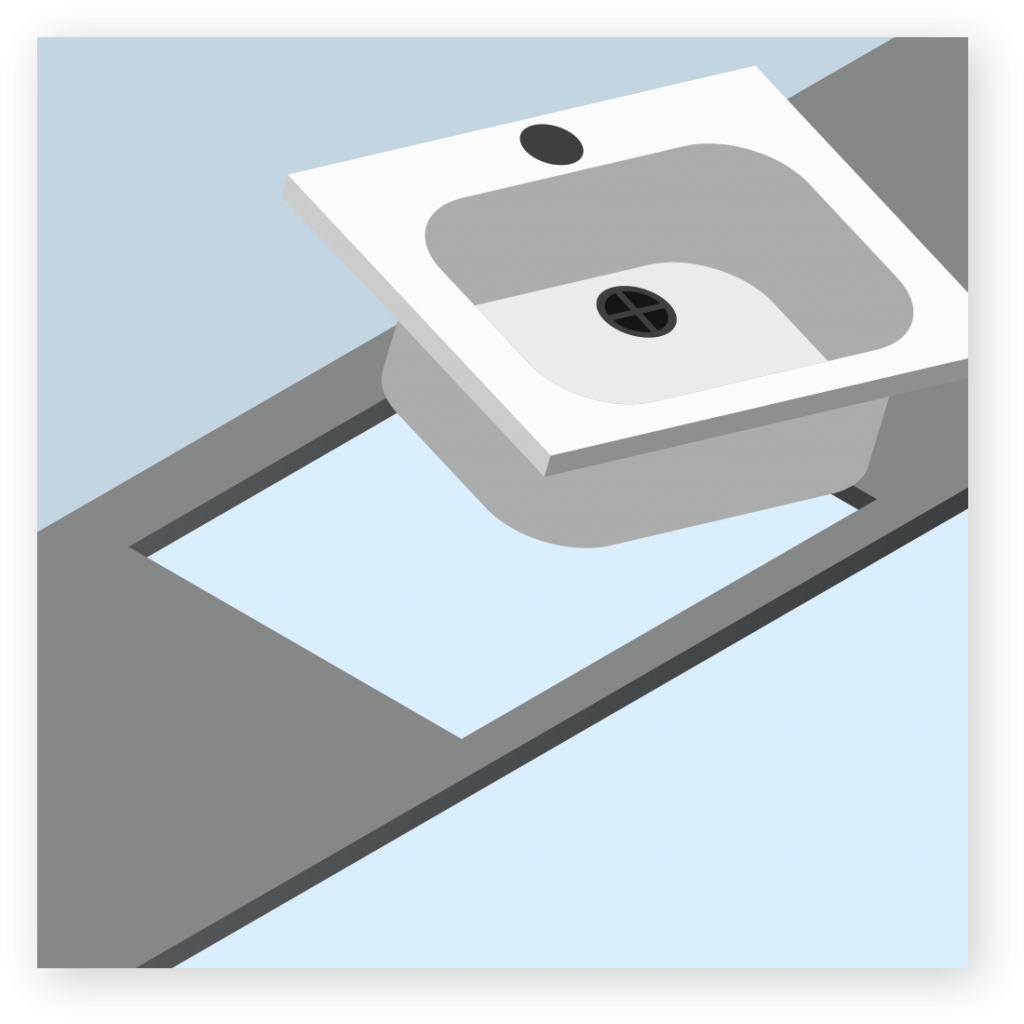
3. Remove the Sink and Clean the Area
Once you've cut enough silicone you should be able to remove your old sink. Once the sink has been lifted out, grab a cloth and give the whole area a good clean. Get all the dirt and stains out from underneath the old sink and get rid of any excess silicone using your knife. Make sure the countertop is cleaned with soap and water and then dry it in preparation for your new sink.
4. Add in your New Sink
Lower your new sink into the hole, if your new sink is too small for the hole then return it and buy an appropriately sized sink. If your new sink is too big, you can always make some adjustments to the countertop. Once measured, you can cut the countertop with a cutting tool in order to make your new sink fit snugly.
5. Seal your New Sink in Place
Once you’re happy with how your new sink fits, remove it and turn it upside down. Use a silicone sealant gun to run a line of silicone around the perimeter of the sink, then turn the sink the right-way-up and carefully lower it back into the hole. Follow this by wiping away any excess silicone with a cloth.
6. Add Clips to the Underside of the Sink
Fasten the metal clips all around the perimeter of the underside of the sink to connect it to the underside of the countertop. Make sure the clips are facing outwards from the sink and tighten the screws with a screwdriver so they’re fastened tightly.
Replacing a Undermount Sink
1. Remove the Silicone with a Knife
The rim of the sink is glued to the underside of the counter with silicone sealant, this is what is keeping the old sink in place, alongside the metal clips under the counter. Take your knife and begin slicing through the sealant, this is located between the edge of the countertop and around the sink itself. Slowly apply pressure to make sure you cut deeply through the sealant.
2. Undo the Metal Clamps Under the Sink
After enough of the silicone sealant has been cut through, start unscrewing the metal clips located under the countertop. This will be the last remaining entity holding the sink in place, so we recommend having someone else with you, holding the sink in place, to avoid it dropping whilst the metal clips are being unscrewed!
3. Remove the Sink and Clean the Area
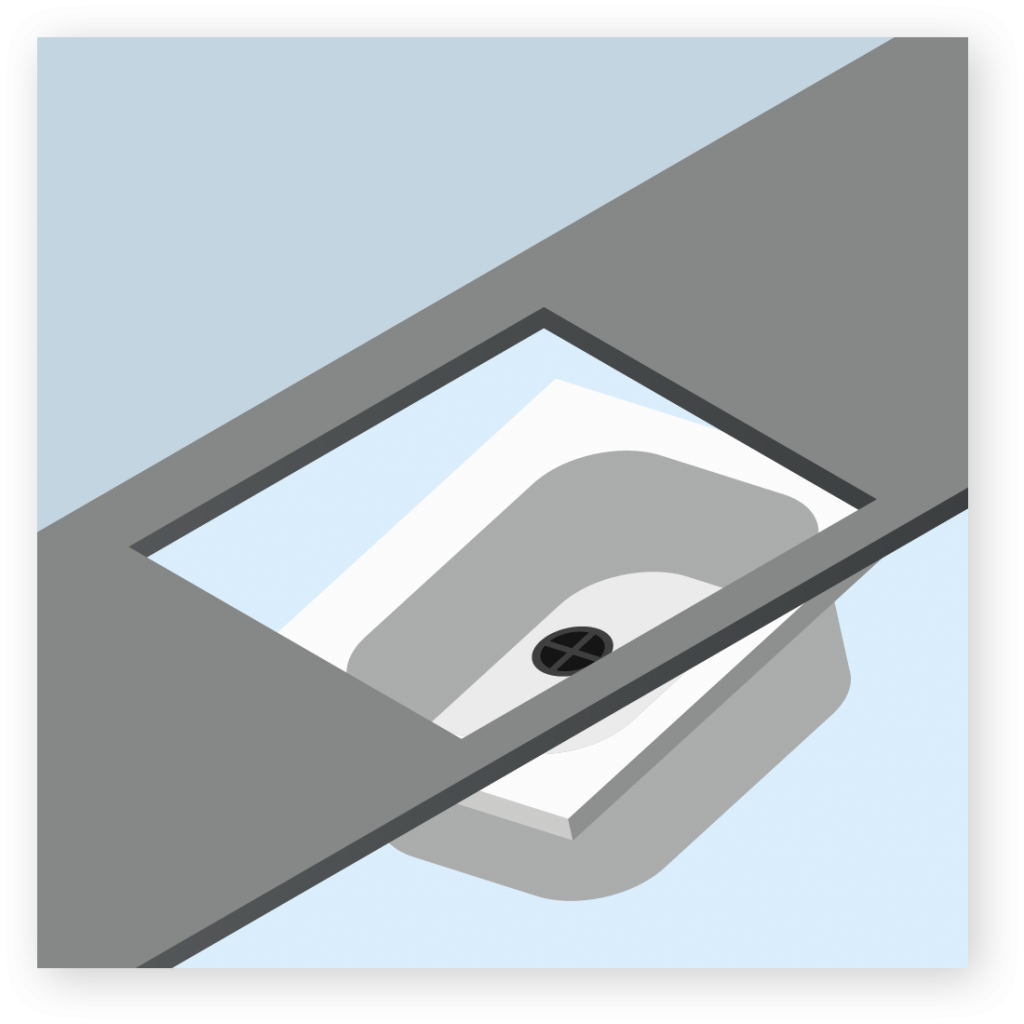
After you’ve removed the silicone sealant and unscrewed and removed the clips, the sink should (with a little man-power) slide out through the bottom. Similar to replacing the top-mount sink, this is an opportunity to clean the area underneath the sink and to scrub the countertop with soap and water, to prepare the area for the new sink.
4. Add in your New Sink and Add Silicone
Lift the sink into position to make sure it fits into the hole. Once you’re happy with the fit, you can lift the new sink back out of the hole to start the process of adding silicone sealant. The sealant goes on the top side of the sink so apply a continuous bead around the perimeter of the rim. Carefully lift the sink into position and hold it in place whilst the sealant begins sticking to the counter. The sink needs to stay in its position whilst you do the next task of securing the clips. We recommend having a helper to hold the sink in position. If you do not have anyone on hand to help, you can use a bar clamp clamped to a 2x4 piece of wood sitting across the hole to keep the sink in place for you.
5. Secure the Metal Clips
Underneath the sink you will find holes where the metal clips go. Place the clips into these holes along with the screws and bolts, these items should all come with your new sink, but as long as the old sink’s clips are not damaged, you can reuse them for the new sink. Once completed, the sink should be sat in place. Wipe away any excess sealant with a cloth and allow 24 hours for the sealant to dry before attaching the pipes back in place.
Reconnecting the Supply Lines
1. Secure the Tap in Place
Place your tap in the hole on top of the sink. Run the hot and cold supply lines through the sink and into the bottom of your tap. Use metal connectors over each line and plug into the tap. You will need to hold these lines in place with a nut and washer, so hold the tap steady as you do this.
2. Seal and Fasten the Drain Strainer
To install your drain strainer you can use Plumber’s Putty. Roll a small amount and spread it evenly around the rim of the drain. Place the strainer on the putty and fasten the drain into place, making sure to scrape off any excess putty with your knife.
3. Connect the Pipes
Connect the drain pipe from the sink down into the wall using a p-trap. Fasten each pipe together by twisting on the ring-shaped connector with some adjustable pliers.
4. Test for Leaks
Once you’ve completed the last installation step, turn the water supply back on, turn the flexible connectors clockwise, and make sure there are no leaks. Place a bucket under the sink and pipes to catch any water leaks. If there are any leaks, use an adjustable wrench to tighten anything that is loose. Once you’re happy with your work, enjoy!
There is our step by step guide to replacing a kitchen sink. While most people will call a plumber to complete the installation of a new kitchen sink, installing a kitchen sink can be a straightforward DIY job, with the right tools and the right instructions, potentially saving you a good chunk of money! So, strap on a tool belt and install your new kitchen sink on your own!
Free Advice
If you’re struggling with advice regarding replacing kitchen sinks, ring our dedicated experts on 0800 112 3134 or 0333 577 3134.
We’re open Monday to Friday 07:00 - 17:30 and Saturday 08:30 - 12:30.


