How to Fix a Leaky Shower (Step-by-Step Guide)
This is the complete guide to fixing a leaky shower. It covers:
- How to find the cause of the leaky shower
- How to fix the most common causes of a leaky shower
- Fixing a leaky shower faucet
- Fixing a leaky shower head
- Fixing a leaky shower hose
- Fixing a leaky shower valve
So, if you’re wanting to troubleshoot the cause of your leaky shower and understand how to fix it, you’ll love this guide.
Find the cause of your leaky shower
Finding the exact location of a leak can be straightforward. Most leak locations are visible, although some leaks may be occurring in one location and others in multiple locations.
The main causes of a leaky shower are:
- Leaking faucet
- Leaking shower head
- Leaking shower hose
- Leaking shower valve body
Check for common leak points by turning your water on and searching for the source of the water leak and for any surrounding water damage. Once you have located the cause of your leak, it is time to fix it.
Fixing your shower leak
Fixing a leaking faucet
What tools do I need?
-
- Needle-nose pliers
- Phillips screwdriver
- New faucet cartridge
- Rubber washers or O-rings (seat and packing washers)
Fixing a leaking shower faucet
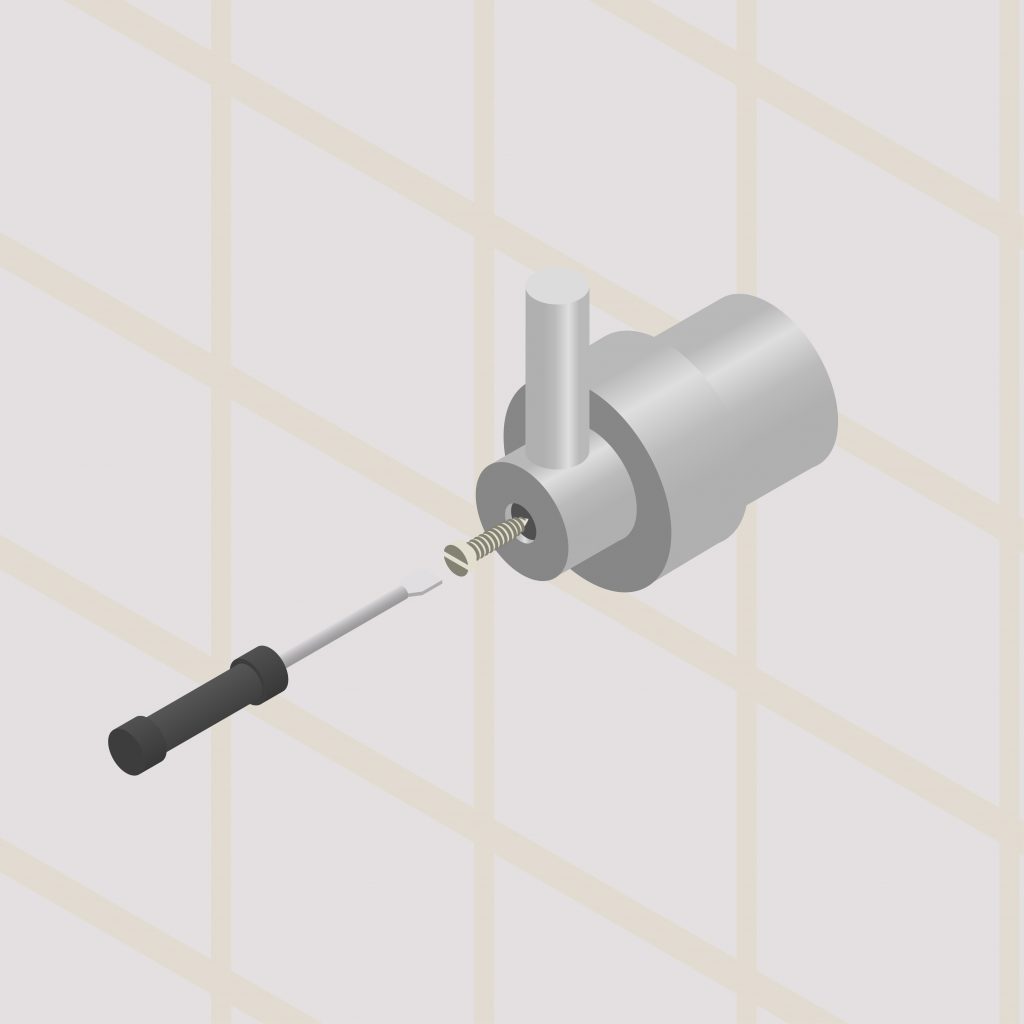
Step 1 remove the faucet
Turn off the water supply and empty the water lines.
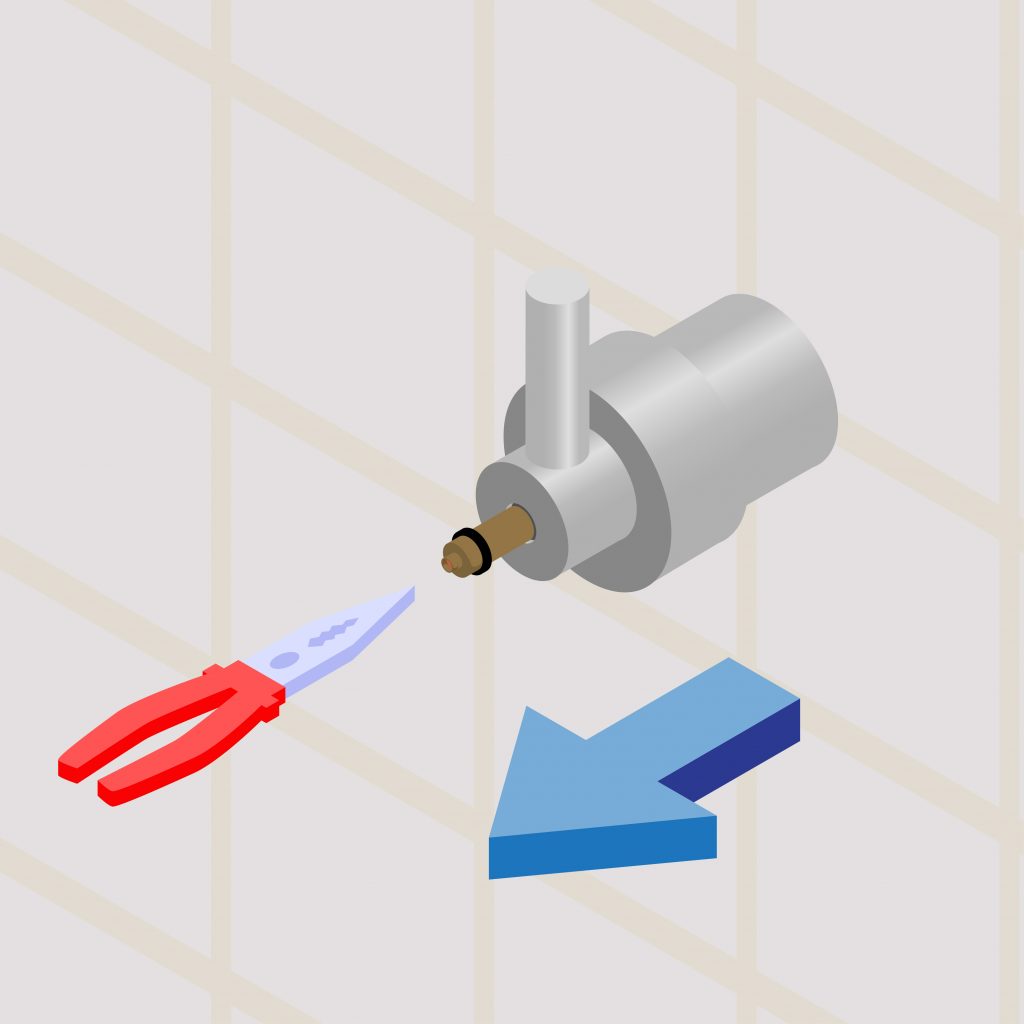
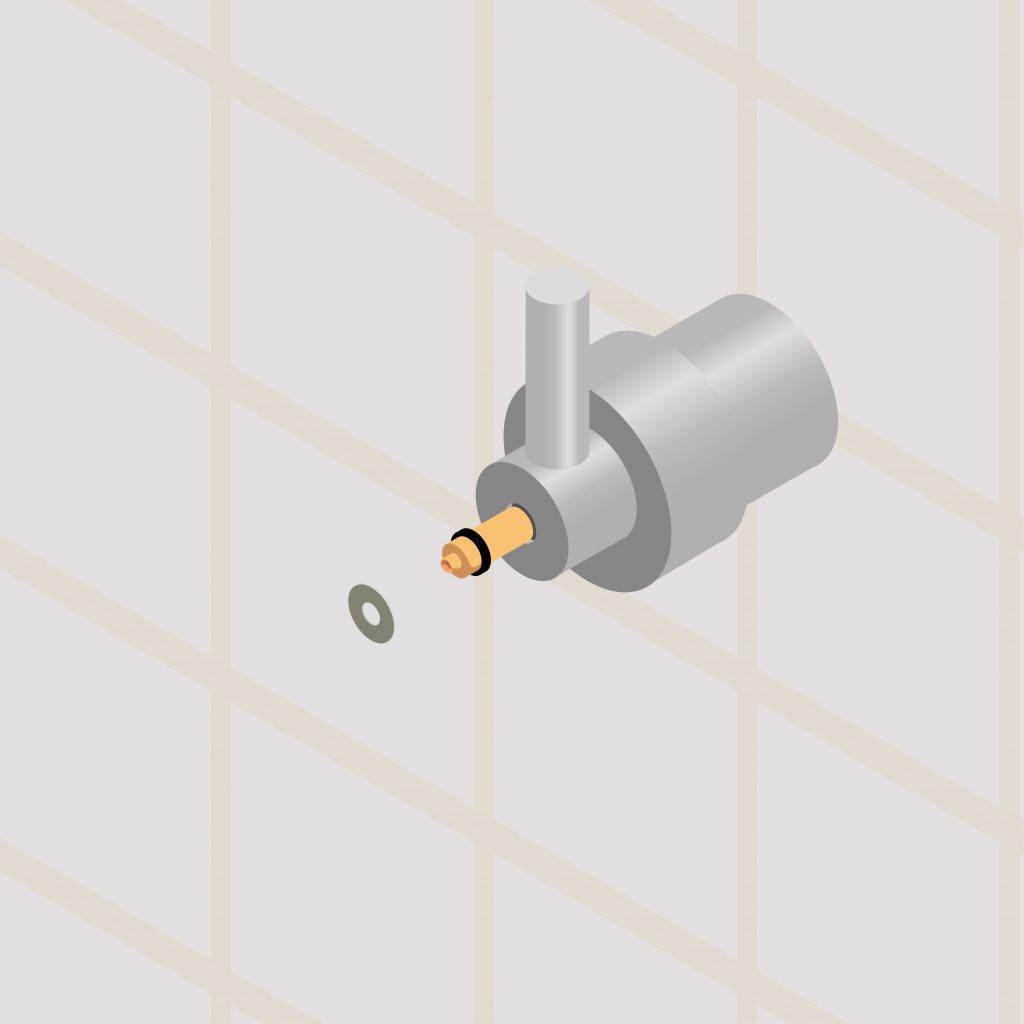
Remove the screw to the existing faucet using your screwdriver. If it is the water flow that is causing a problem, the issue is with your faucet cartridge. Remove the faucet cartridge using your needle-nose pliers. Once the cartridge has been removed, allow any blocked water to drain.
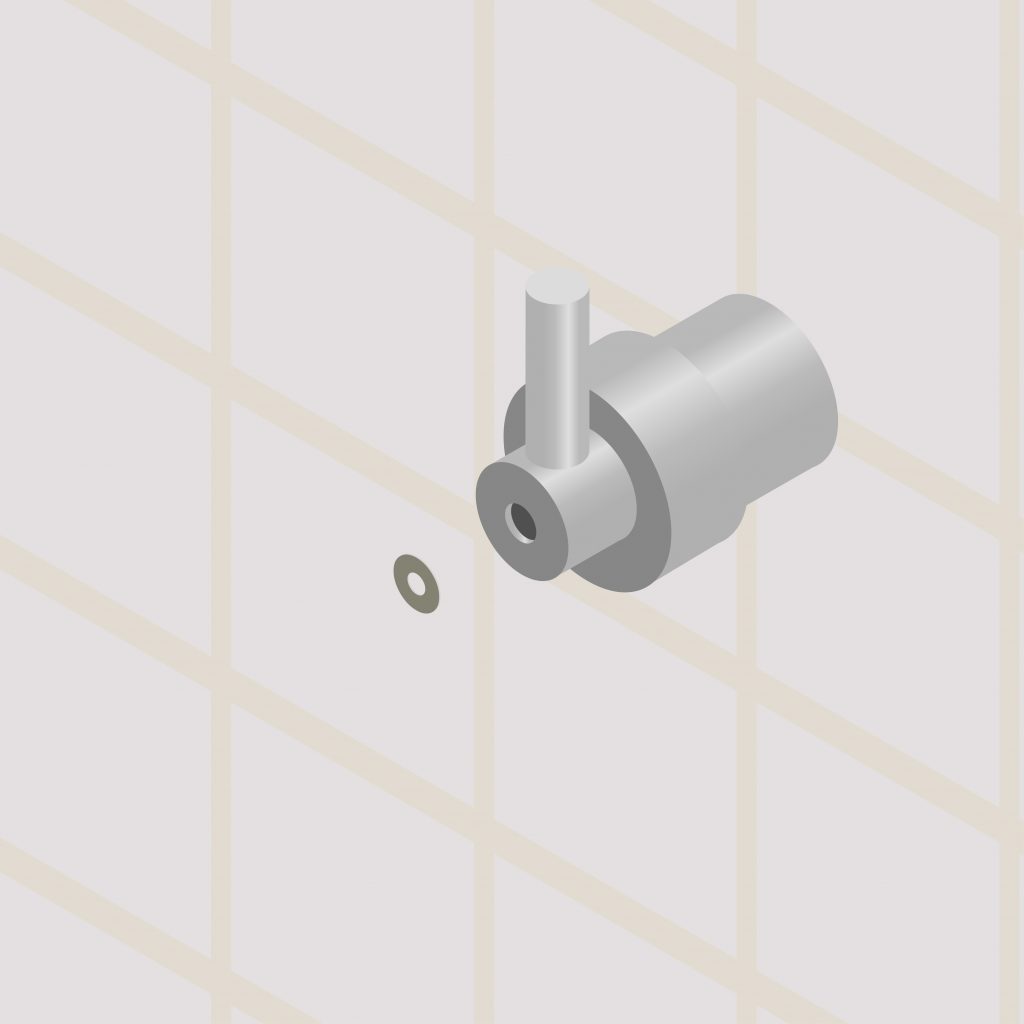
If the problem is with your shower faucet washers, it would be beneficial and easier to replace all washers in one go whilst you have the faucet disassembled and the cartridge removed. Simply locate and remove all rubber washers.
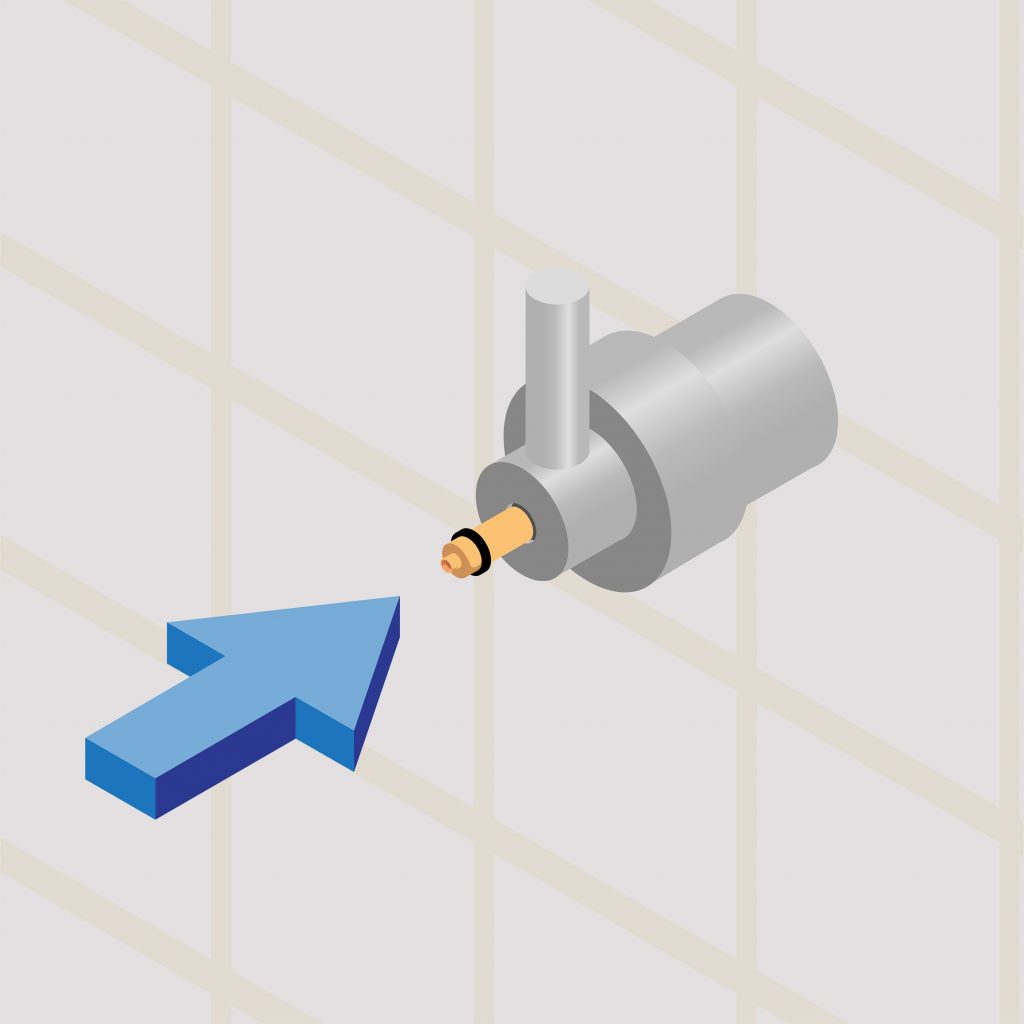
Step 2 replace the faucet
If you’re changing your faucet cartridge, discard your old faucet cartridge responsibly and insert your new faucet cartridge. Carefully reassemble your shower faucet and replace the screw to your shower faucet using your screwdriver.
Turn your water back on and test your new shower faucet to ensure the leaking shower faucet has been fixed correctly.
If you’re replacing your faucet washers, either on their own or alongside a new cartridge, remove the cartridge and replace your old washers with new ones before replacing your cartridge and reassembling your shower faucet.
Fixing a leaking shower head
What tools do I need?
- Cleaning descaler solution
- New shower head
- A sponge
- A large tub or bowl
- Shower head washer
- Shower head valve
Step 1 find the root cause of the problem
Shower heads can be leaking for several reasons that require different solutions. Turning the water supply on and tracking where the leak is coming from or following water damage can help to determine the root cause of the problem.
Typically, many shower heads start to leak when they’re older and have a build up of limescale. Simply cleaning your shower head with a cleaning descaler could solve the problem.
Step 2 Clean the shower head
Cleaning your shower head requires the removal of the shower head from the hose. The shower head can be easily unscrewed with your hands and requires no tools.
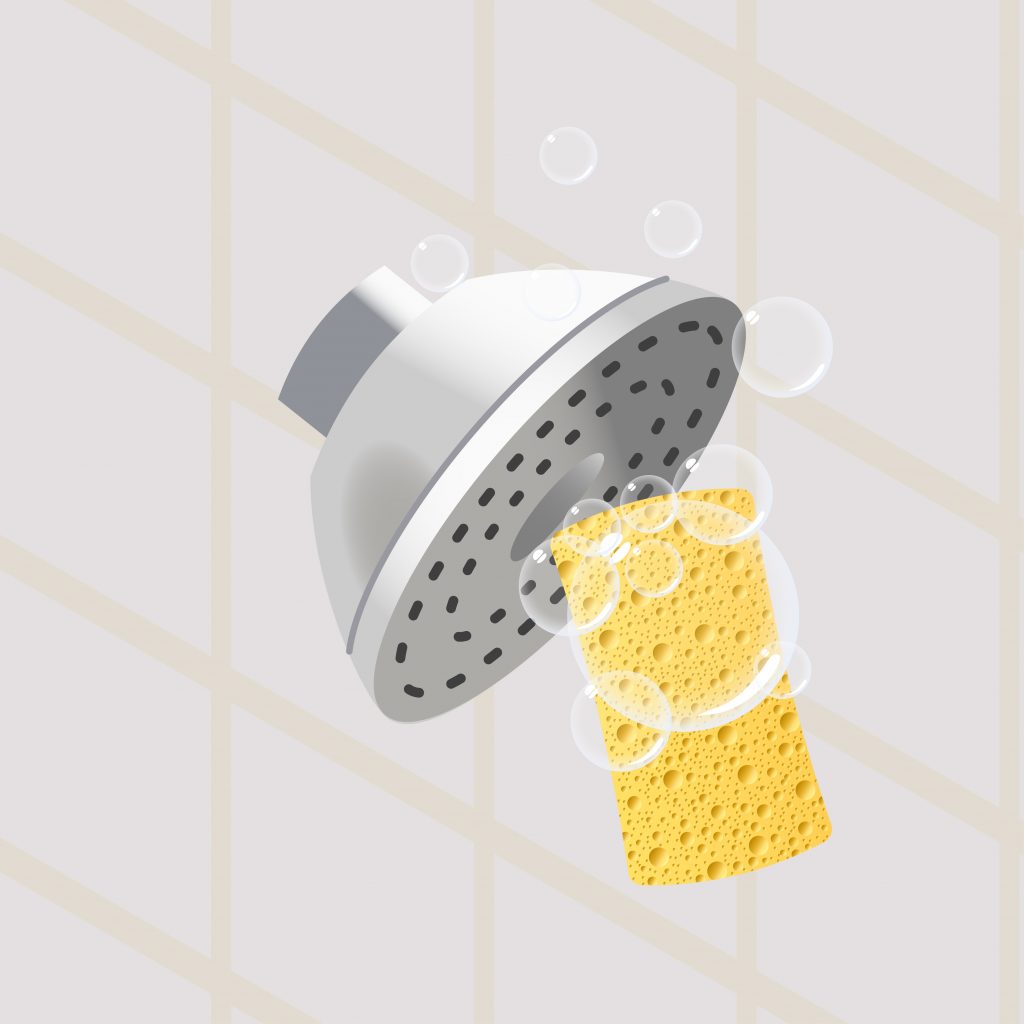
Scrubbing the shower head faceplate with a sponge and limescale cleaning descaler should remove the limescale build up from the faceplate itself.
Soaking the whole shower head including the water pipe that attaches the head to the hose in a tub of water with cleaning descaler in for 30-60 minutes should ensure that the limescale build up is removed from every part of your shower head.
Rinse your shower head and pipe with water before screwing back on to the hose and repositioning.
Turn the water supply back on to see if this has fixed the problem.
Step 3 Replace the shower head washer
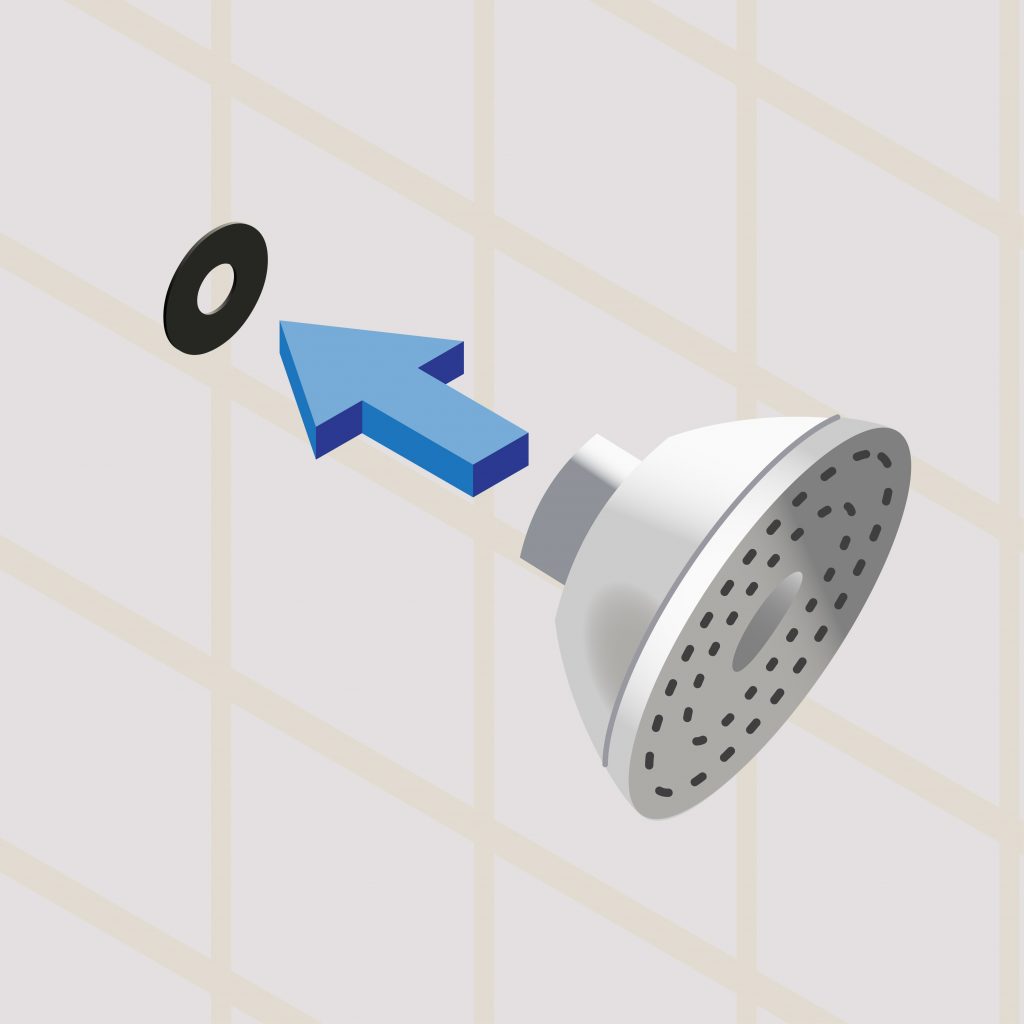
Just like the shower faucet, the shower head has a washer that may need replacing. The shower head washer can get worn or damaged over time and can fail to seal water in.
Replacing the washer with a brand new one once you’ve removed the shower head to clean, can be a sure-fire way to ensure there are no leaks.
Fixing a leaking shower hose
A common issue with a leaking shower is leaking from the shower hose. This leaking will be visible and easy to find the exact position of the leak when your shower is turned on.
Step 1 find the cause of the leak
To identify the exact location of the leak, turn your shower on. Leaking from the shower hose is usually visible and easy to spot. Once you have identified where the leak is and are ready to fix this, turn off your water supply. Typically, a leaking shower hose is caused by faulty inner seals that have simply worn over time.
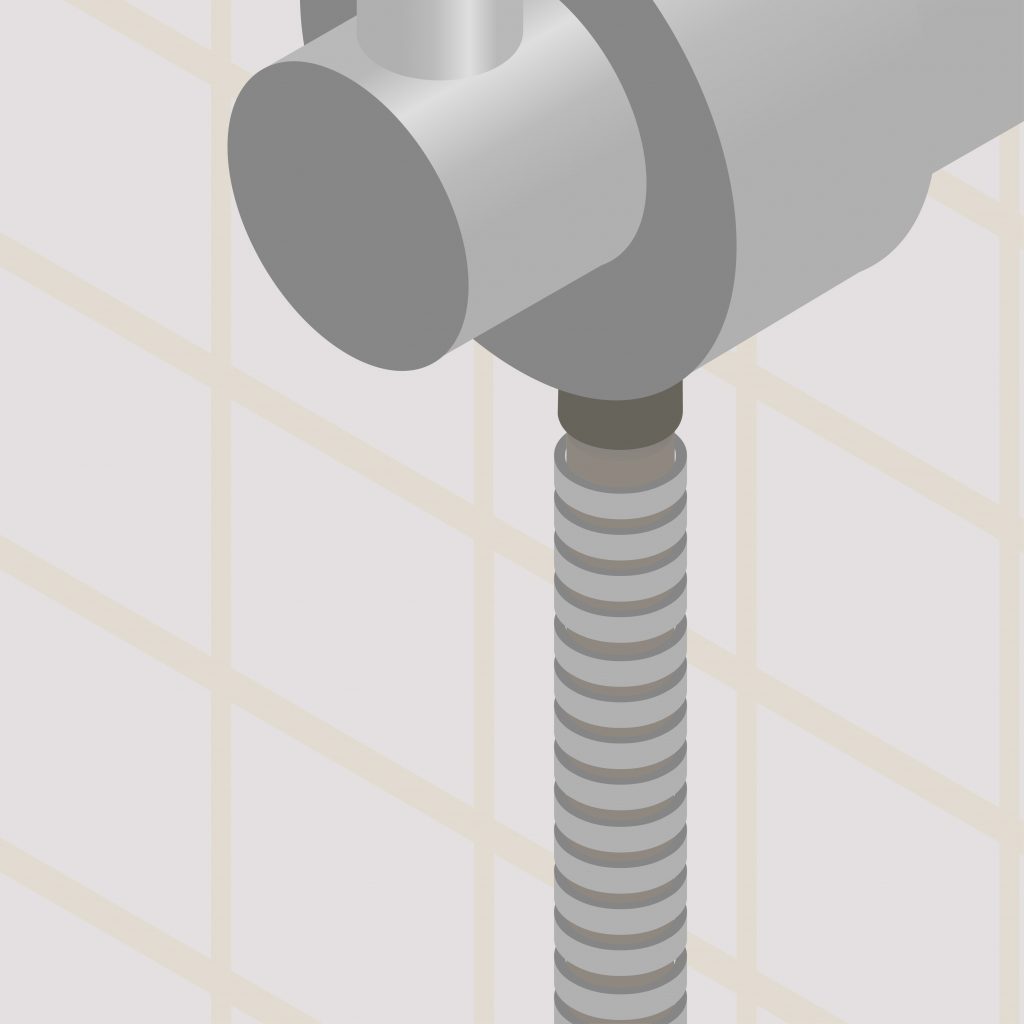
The inner seals or rubber washers either end of the shower hose, connecting the shower hose to the shower base and connecting the shower hose to the shower head can wear and stop effectively sealing watertight.
What tools do I need?
- Rubber washers or O rings
- Pliers or spanner
Step 2 Disconnect the shower hose
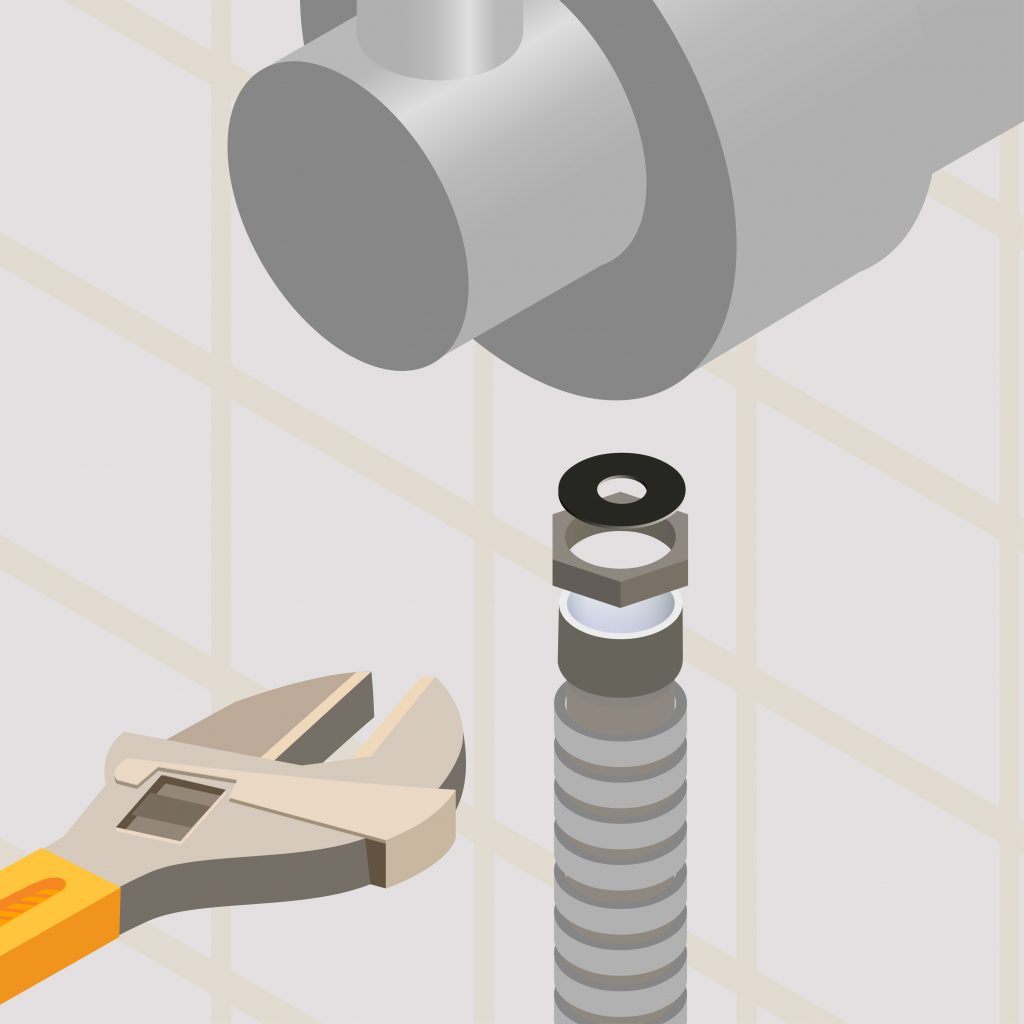
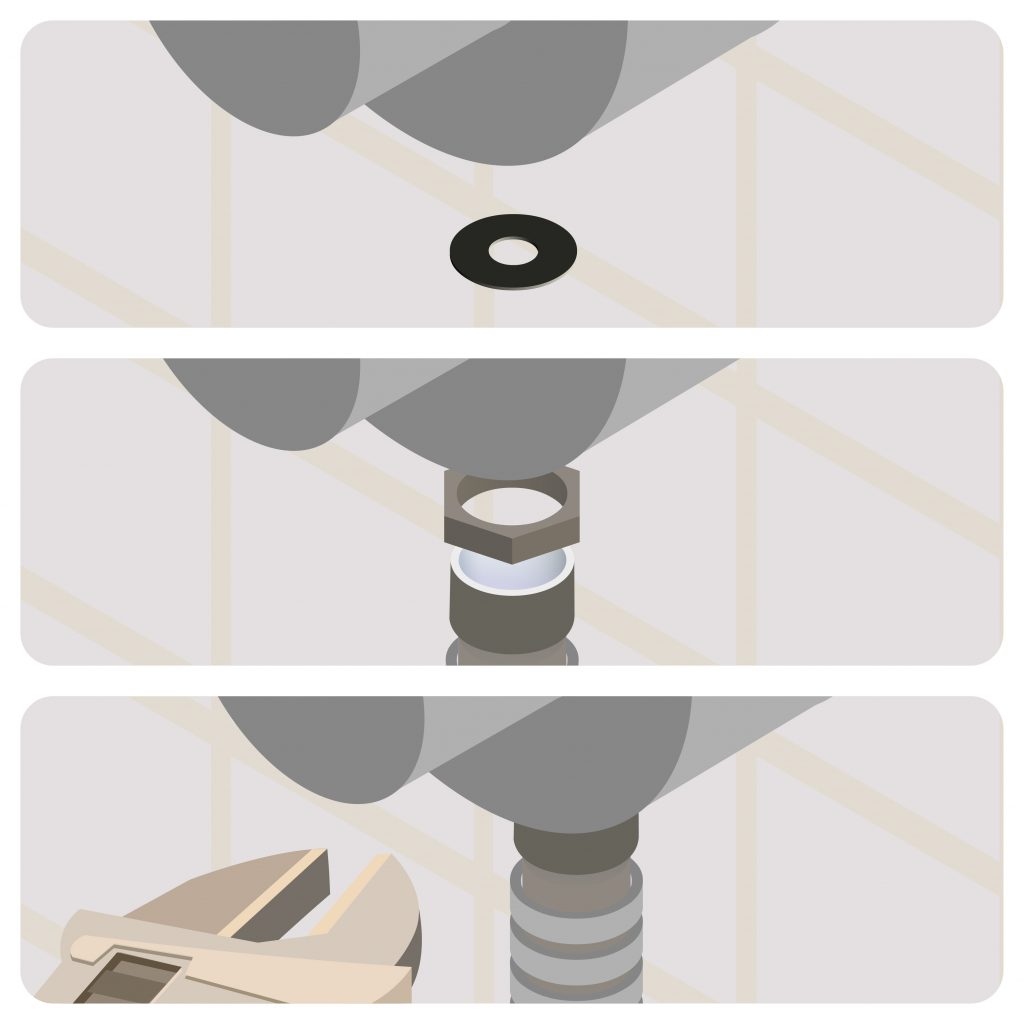
Once you’ve identified where your shower hose leak is and can determine the cause of the leak, shut off your water supply and carefully disconnect the shower hose from the shower head and base.
The hose can easily be unscrewed using your hands, but you can use a pair of pliers or a spanner if you’re having difficulty.
Step 3 Replace the rubber washer seals
Once your shower hose is fully disconnected, you can remove the old rubber washers and carefully replace them with brand new ones at both ends.
Again, the new rubber washers can be manually screwed on using your hands. Once fully screwed on, reconnect your shower hose to the base and head. To ensure everything is fully sealed and as watertight as can be, you can use your pliers or spanner to tighten up both ends of the shower hose.
Fixing a leaking shower valve
Showers typically have one valve for both hot and cold water with a valve handle. The valve controls water pressure and the temperature of your shower. A leaking shower valve needs replacing to avoid any hidden water damage and leaks within the wall itself. Unlike a shower hose leak, shower valve leaks can be harder to spot. Turning the water on and following any signs of water damage should pinpoint the problem and determine the need to replace your shower valve.
What tools do I need?
-
- A new shower valve
- Plumbing sealant
- Phillips screwdriver
- Rubber washers or O Rings
Before removing and replacing the shower valve, shut off your water supply and let any remaining water drain away before removing anything.
Step 1 remove the valve and handle
Firstly, you need to remove the handle. Use a Phillips screwdriver to unscrew the handle from the valve and remove the drain cover.
Once the handle and drain cover of the valve body has been removed, the valve should be open enough to show its interior gasket. The shower valve gasket is what controls and connects the water flow. The valve gasket is the most important element of the valve and is essential to prevent leaks and seal your shower valve body.
Remove the gasket from the valve body and remove the washers in the shower stem of the valve body, where your shower hose connects to the main shower base.
Step 2 replace the valve gasket
Replace the valve gasket with a new one, using plumber sealant in the area before replacing this as an extra measure to ensure that this new gasket is completely sealed shut and watertight. Once replaced, check any additional rubber washers in the valve body itself.
Step 3 replace additional rubber washers
You may need to replace additional rubber washers in the shower stem connecting to the valve body. The shower stem is the part of the shower that the bottom of your shower hose connects to. These rubber washers are prone to wearing down and can easily be replaced whilst the valve body is disassembled.
There is our step by step guide to troubleshooting and fixing the four most common causes of a leaky shower.
Free Advice
If you’re struggling with advice regarding a leaking shower, ring our dedicated experts on 0800 112 3134 or 0333 577 3134.
We’re open Monday to Friday 07:00 - 17:30 and Saturday 08:30 - 12:30.


