
How to Fit a Kitchen Tap (Step-By-Step Guide)
A new kitchen tap is a brilliant way to update the look of an outdated kitchen sink. Taps can come in all shapes and sizes, which can make implementation tricky at times, but having the correct tools and some know-how can go a long way. If your kitchen tap is rusty, blemished or leaky, you may be in need of an upgrade. In this guide we’ll show you, step-by-step, how to fit a kitchen tap.
Firstly, here’s a list of tools you will need to make fitting your kitchen tap as simple as possible:
- Open-ended Spanner
- Wrench
- Adjustable Pliers
- Cloth
- Towel
- Flathead Screwdriver
Once you’ve got everything you need, you can get started.
1. Turn Off the Water Supply
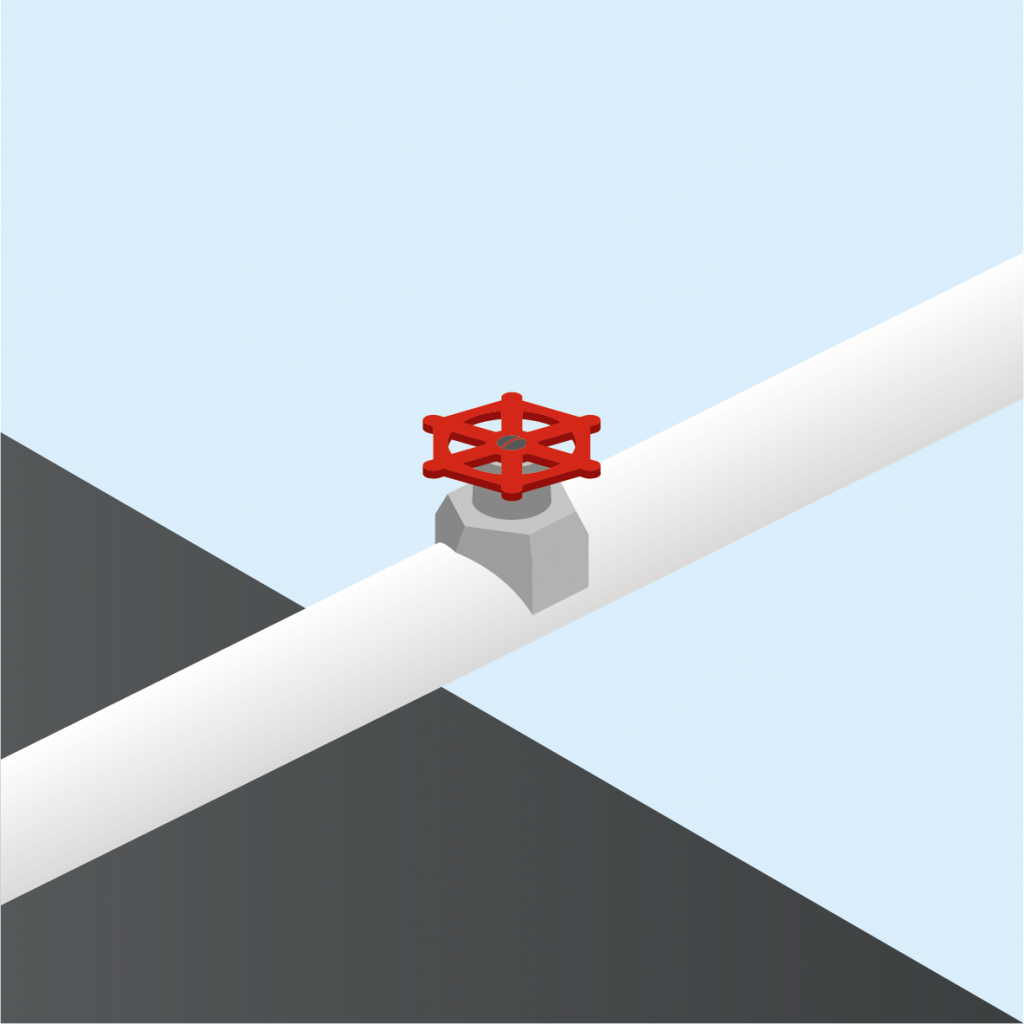
First things first, you can’t change any taps in your bathroom without isolating the water supply. This can be done in two ways:
- Turning it off via compression fittings
- Turning it off via the mains
Turning it off via compression fittings
This is usually found on the pipework to your old tap, to turn off the water supply use a flathead screwdriver and turn the compression fitting 90 degrees clockwise. Do the same for the hot and cold taps, then test them to drain the taps of water and make sure no issues have occured.
Turning it off via the mains
This is normally located in your kitchen under the sink, or in a utility room if you have one in your home. Turn off the valve by turning it clockwise.
Once the water supply has been isolated, we recommend putting the plug in the basin to prevent any bolts and fixings falling into the drain and causing any issues.
2. Turn On the Tap to Relieve Water Pressure
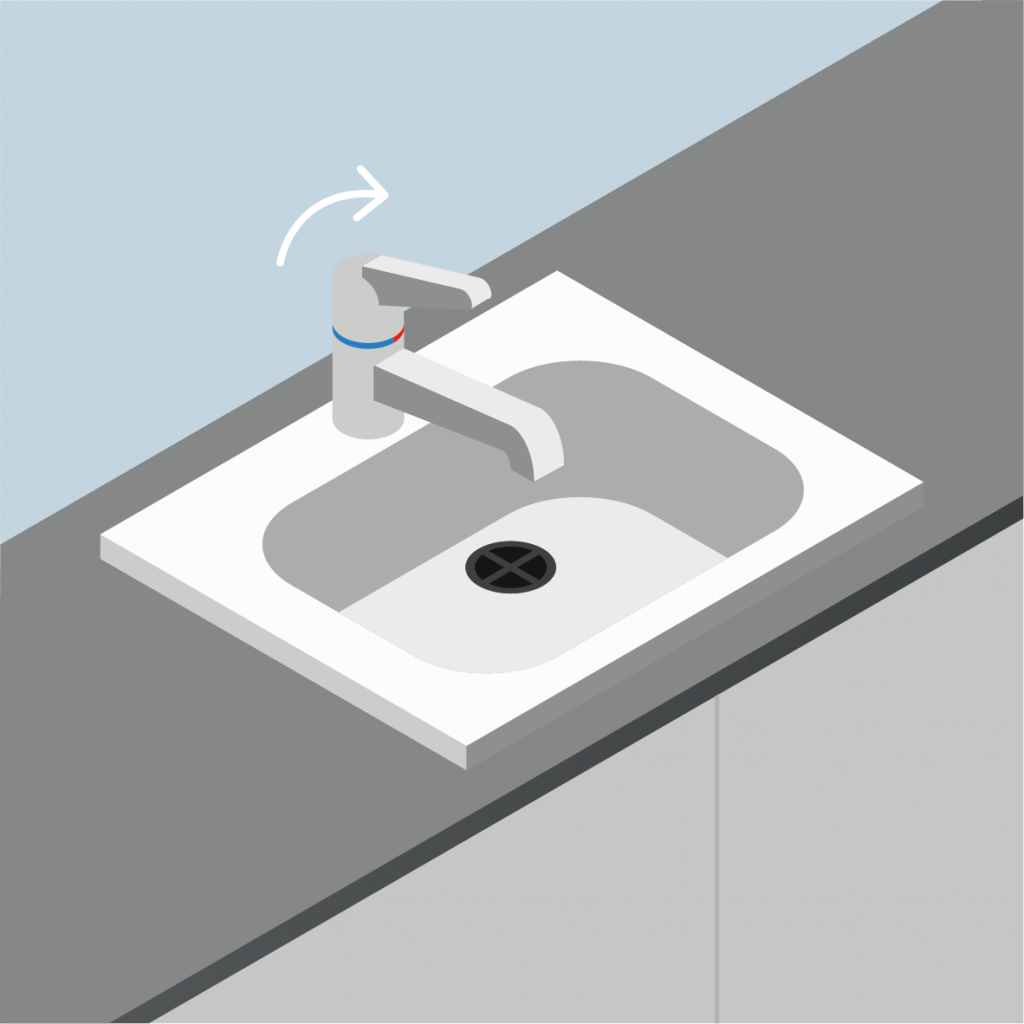
Once the water supply has been turned off, drain the remaining water from the line. It should only take a few seconds for all the water to flow out of the pipes safely.
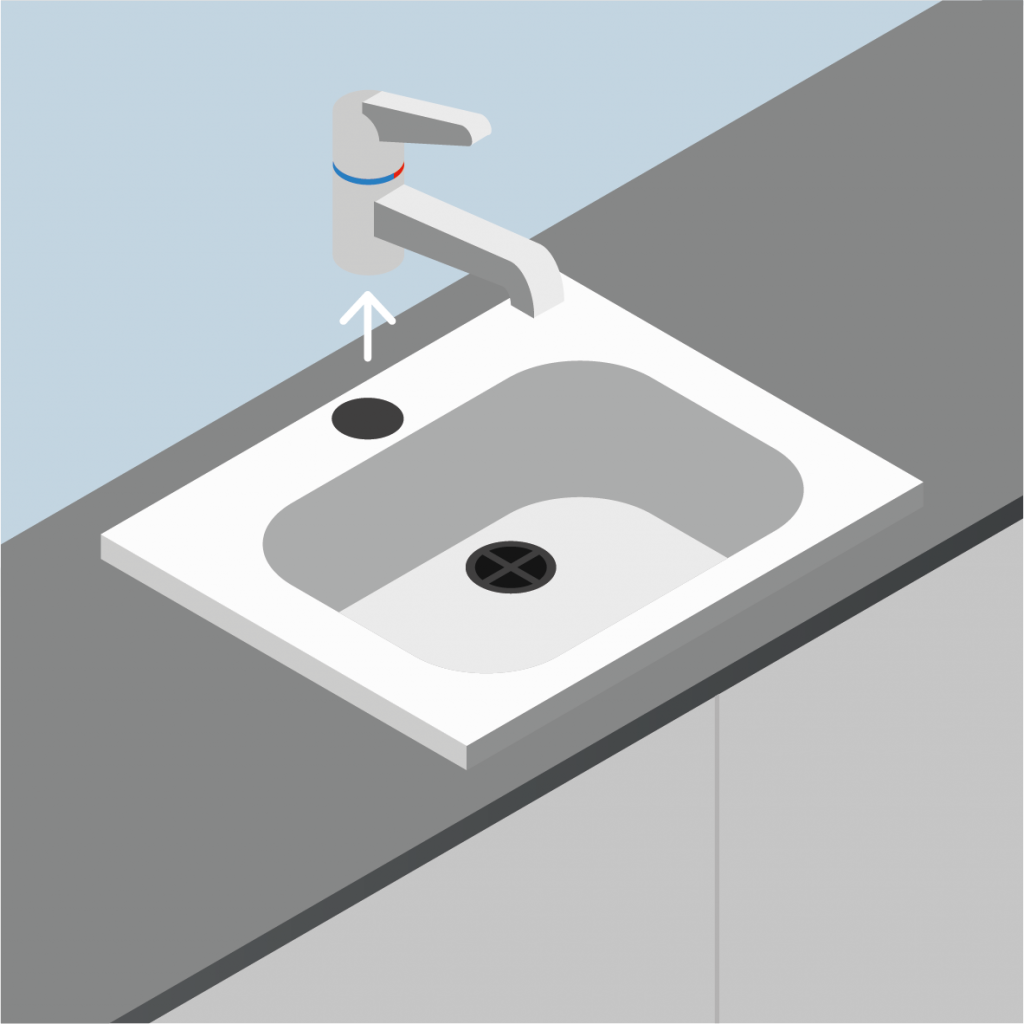
3. Disconnect the Supply Lines

Now that you’ve isolated the water supply you can disconnect the tap. There are two types of connections, standard and flexible.
For standard water pipe connections, loosen the nut where the tap joins the pipe with an open-ended spanner.
For flexible hose connections, loosen the nuts where they join the mains water pipe connections or fitted isolator valves. Use a pair of adjustable pliers to do this to keep the valve in place. The nuts can get tighter over time so keep in mind you may have a hard time loosening them.
4. Remove the Existing Taps
Start by loosening the nut that keeps the tap attached to the surface, at the same time gripping the tap to stop it rotating. You want to remove the nut from the stud so you can detach the tap along with the flexible connectors. Once you have done this the whole tap should lift out. Make sure no washers are left.
Once the tap has been removed, clean off any residue from the pipe connections under the sink with a damp cloth, as well as cleaning any leftover residue from around the sink and tap area.
5. Mount Your New Kitchen Tap
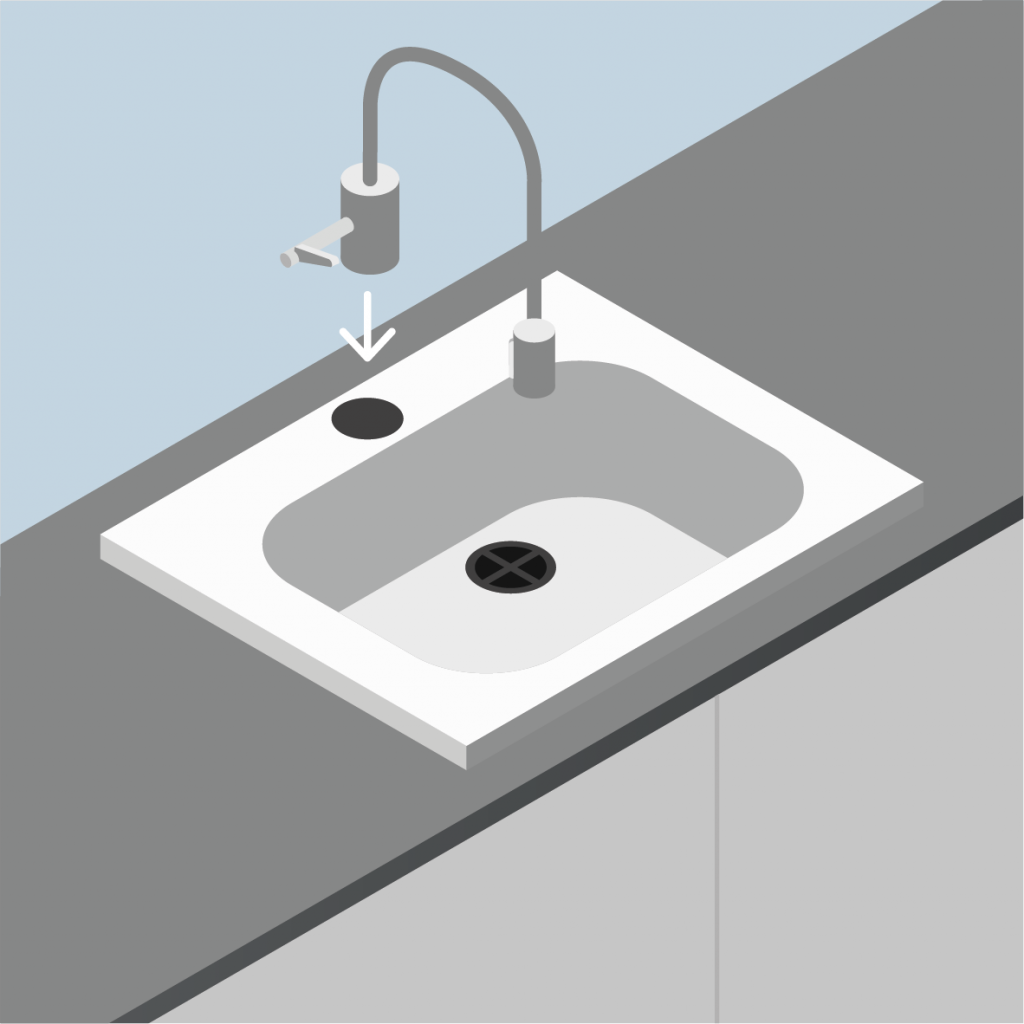
Fitting a new kitchen tap is simpler than removing one, so if you’ve got this far, the hardest work is over! To mount your new kitchen tap, you first need to line it up with your kitchen sink’s tap hole. Most tap models come with pre-fitted hoses, if not, check your tap manufacturer’s manual and connect them up yourself, making sure you tighten them by hand only. Feed the connection ends through the kitchen sink’s tap hole, being careful of any sharp edges.
Your new tap is likely to have come with a rubber washer and an accompanying nut. When your tap is in place and the connection ends have been threaded through the hole, go under the sink and place the rubber washer on your tap’s thread and secure it by hand. Screw the nut in place by hand gently.
Get out from under the sink and check if your tap is still facing the correct way. If the tap is the right way, go back under the sink and secure the nut in place tightly, so the tap doesn’t become loose.
6. Reconnect the Supply Lines
Now you need to reconnect the supply lines. This is the opposite method to removing them. Many new taps come with flexi pipes to make installation easier in tight areas. In most cases, it’s as simple as using the fittings included with the new tap to make a secure connection to your water pipes. Most regular taps have a thread length that is standard with the existing connection’s alignment. When you’ve started the thread, tighten it but don’t overdo it. Screw-in the connector nuts to the mains pipe connections or fitted isolator valves. Then tighten with an open-ended spanner.
7. Turn the Water Back On
Once you’re happy that everything is connected properly, turn the water supply back on by turning the compression fittings 90 degrees anti-clockwise with a flathead screwdriver and check for any drips or leaks, keeping a towel handy. If there is a leak, check the connections and tighten as required.
There is our step-by-step guide to fitting a kitchen tap.
Free Advice
If you’re struggling with advice regarding replacing kitchen taps, visit our other blogs and step-by-step guides here.